Creating Launch Screens for Android
Launch screens are essential as they provide a user's first experience with your mobile application. Based on Google's Material Design launch screens guidelines, there are two main types of launch screens:
- Placeholder UI: A simple seamless transaction type screen
- Branded Launch Screens: A screen providing the user with momentary brand exposure and focus on the content
Instead of displaying a blank white canvas while your app is loading, creating a launch screen will not only "fill the gap" but also provide the basic introduction for your users. These basic rules for creating both types of launch screens are good to follow to create a good first impression:
- avoid using text (except for your logo and tagline)
- avoid using animations (your launch should be as light as possible)
- avoid reusing your launch screen inside your application
- follow Google's Material design rules
Setting launch screen and app icons
In NativeScript, your application template (created with
tns create myApp) ships with a basic launch screen
template. In this article, we are going to introduce the
workflow to create/modify your own launch screen.
Application resources used for launch screen creation
The default template in NativeScript (created with
tns create myApp) provides you with a predefined
splash_screen.xml file with the NativeScript
logo on a blue background and with sample app icons. To modify
that template and create your own launch screen using your own
assets and design, you will need to access the files located
under the app/App_Resources/Android folder.
Let’s look at the various files and folders in
App_Resources/Android and then look at the specific steps you’ll
need to take to change them and configure your launch screen.
-
drawable folders: In your app/App_Resources/Android folder you will find a number of subfolders named drawable-X (where x is the different DPI for the different devices) These folders will store your properly scaled images for your app icons, launch screens and in app images (optional). Here is the full list of your drawable resources folders.
- drawable-ldpi: Resources for low-density (ldpi) screens (~120dpi).
- drawable-mdpi: Resources for medium-density (mdpi) screens (~160dpi). (This is the baseline density.)
- drawable-hdpi: Resources for high-density (hdpi) screens (~240dpi).
-
drawable-nodpi: Resources for all densities. These are density-independent resources. The system does not scale resources tagged with this qualifier, regardless of the current screen's density.
Important: In NativeScript this is the folder that holds splash_screen.xml – the file that creates your launch screen.
-
drawable-xdpi: Resources for extra-high-density (xhdpi) screens (~320dpi).
- drawable-xxdpi: Resources for extra-extra-high-density (xxhdpi) screens (~480dpi).
- drawable-xxxdpi: Resources for extra-extra-extra-high-density (xxxhdpi) uses (~640dpi). Use this for the launcher icon only.
-
values folder: XML files that contain simple values such as strings, integers, and colors. Here is the full list of the files that ship with the basic NativeScript template.
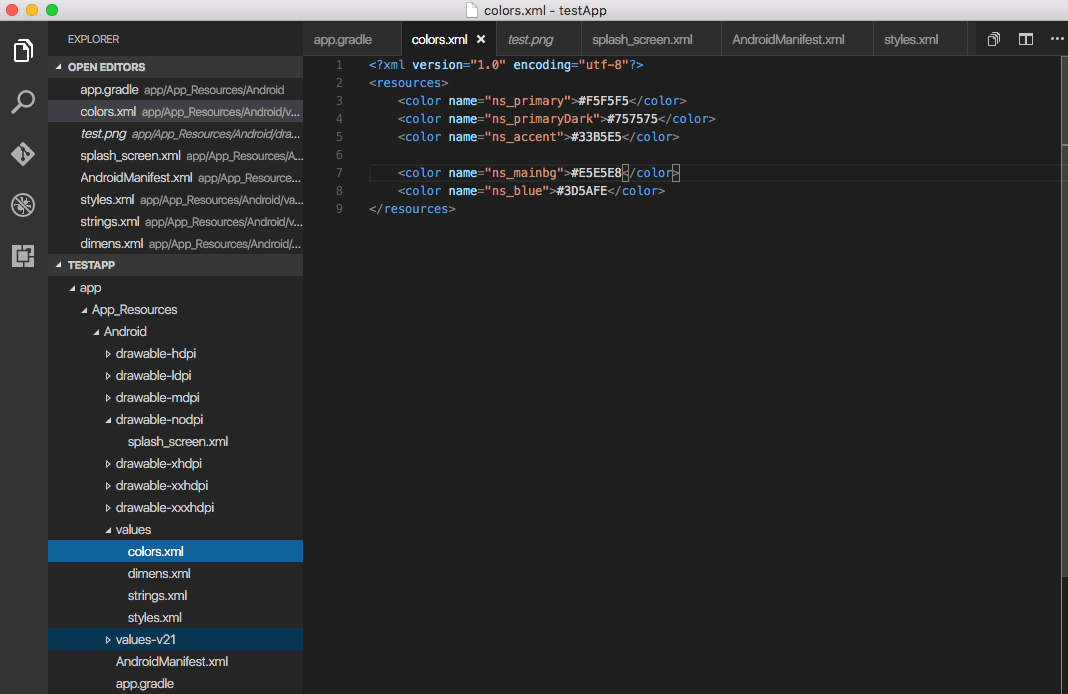
- colors.xml: XML file in which the app colors are declared.
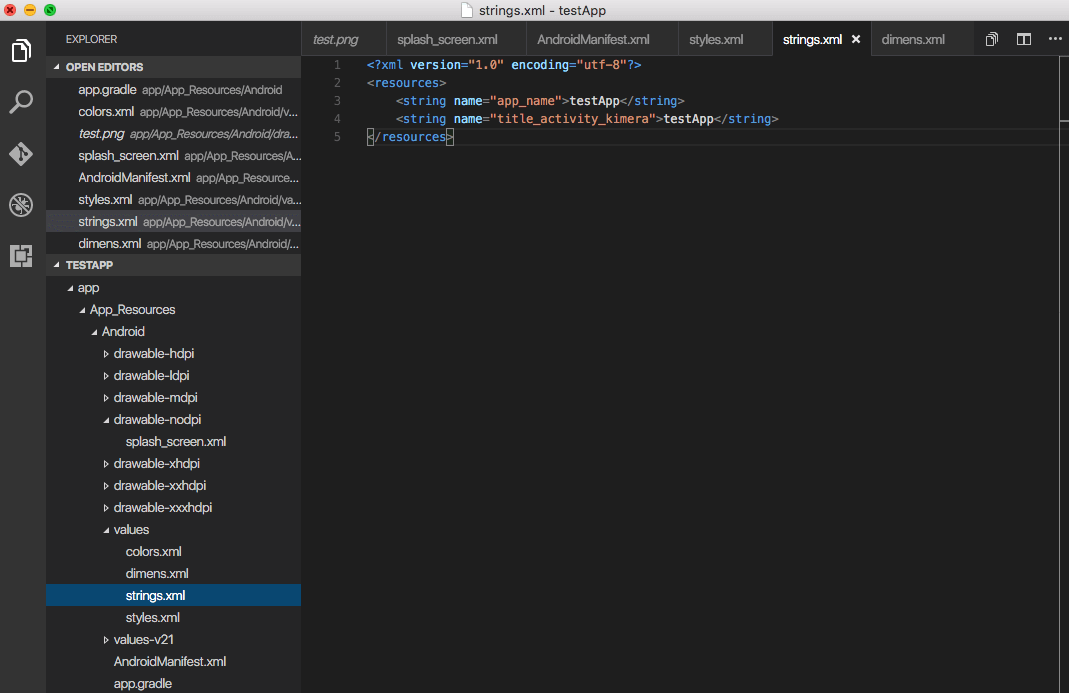
- strings.xml: XML file in which the app string are declared.
-
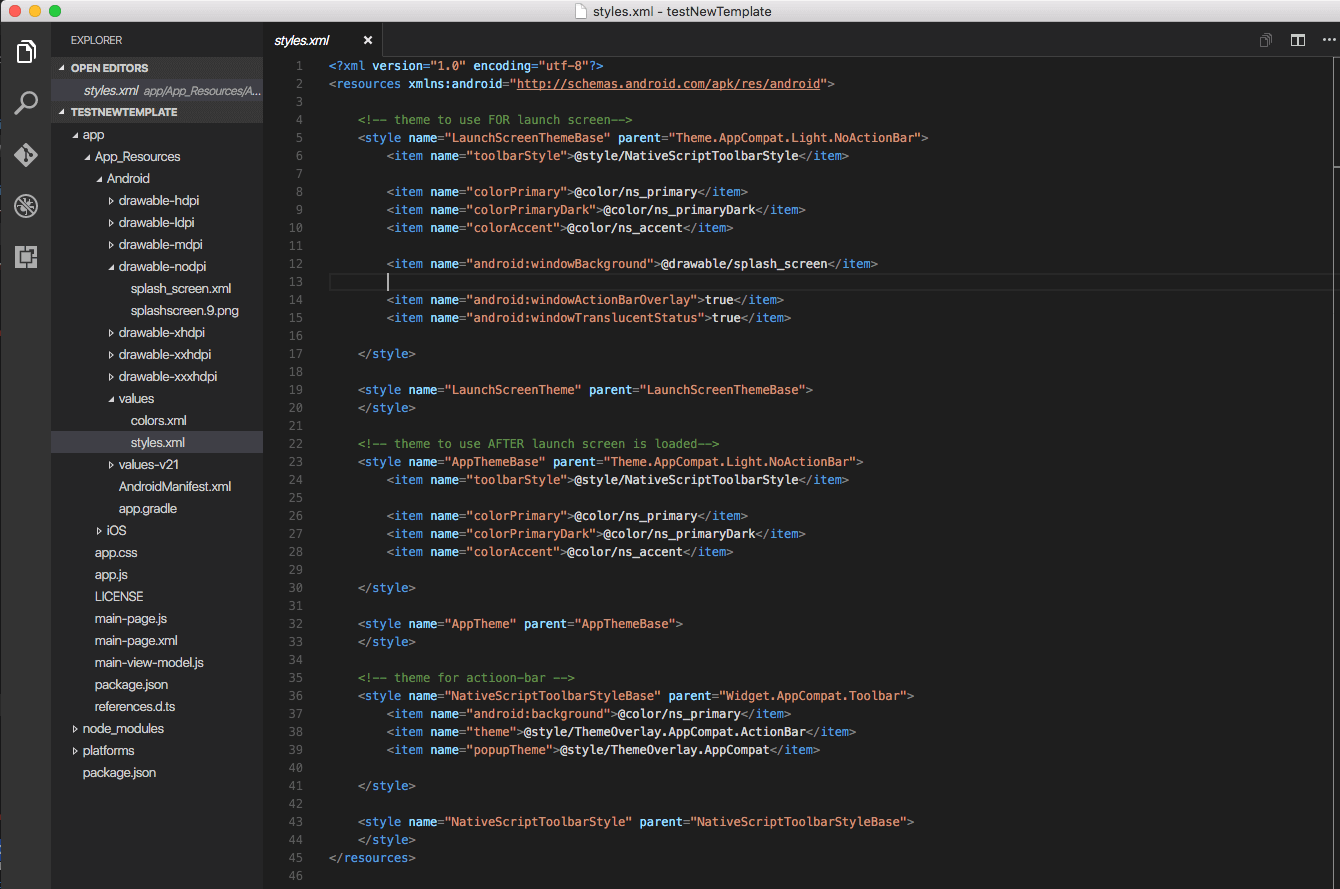
styles.xml: XML file in which the app
styles are declared. This file holds your
LaunchScreenThemestyle, which you can customize to change thesplash_screen.xmlmentioned above. Once your application is loaded, theLaunchScreenThemeis changed with theAppThemestyle.
-
values-v21 folder: XML files that contain simple values, such as strings, integers, and colors. Used when you need to provide themes supported only on API Level 21+ (e.g., Theme.Material)
-
AndroidManifest.xml file: Every application must have an
AndroidManifest.xmlfile (with precisely that name) in its root directory. The manifest file presents essential information about your app to the Android system – information the system must have before it can run any of the app's code. In order to change your application icon file, you must modify theandroid:iconkey in theapplcationtag. The default app icon set up:android:icon="@drawable/icon"The code above will look for the file named icon.png in the drawable folder and will load the properly scaled image for the current device.
Note: In
AndroidManifestyou will find the following key:<meta-data android:name="SET_THEME_ON_LAUNCH" android:resource="@style/AppTheme" />This key is used by NativeScript to change your
LaunchScreenThemewithAppThemewhen your application is loading.
How to setup a custom launch screen
In order to change the default NativeScript launch screen
(defined in drawable-nodpi/splash_screen.xml) and
create your own, follow these steps:
-
Put your properly scaled images into the corresponding
drawable folders. This folder can be used not
only for your launch screen images, but also for your app
icons and for your in-app images (you can refer to this
resource from your application logic with
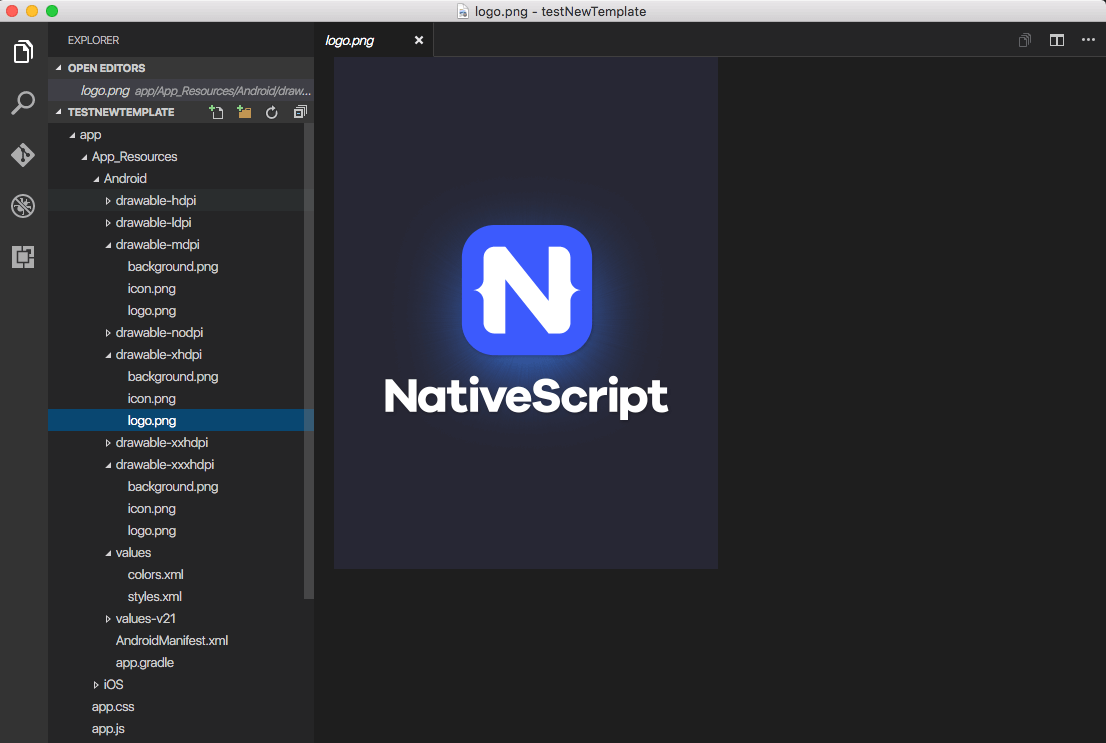
"res://image-name"). The default template app ships with three images: icon.png (used for app icon), logo.png (centered sample image) and background.png (image used to fill the background).
The default splash_screen.xml with centered
logo.png and filled background.png.
<layer-list xmlns:android="http://schemas.android.com/apk/res/android" android:gravity="fill">
    <item>
        <bitmap android:gravity="fill" android:src="@drawable/background" />
    </item>
    <item>
        <bitmap android:gravity="center" android:src="@drawable/logo" />
    </item>
</layer-list>

- Define the colors you want to use in values/colors.xml and in values-v21/colors.xml. You can set your own colors and reuse them in the splash_screen.xml file for your launch screen (or reuse them in your app).

- Define the strings you want to use in values/strings.xml and in values-v21/strings.xml. You can set your own string here and reuse them in the splash_screen.xml file for your launch screen (or reuse them in your app).

- Define the styles and themes you want to use in values/styles.xml and in values-v21/styles.xml. Note that styles applied in the values-v21 folder will be applied only to devices with API 21+.
The default NativeScript template ships with two themes:
LaunchScreenTheme (used for your initial launch)
and AppTheme (used for your main application).

Note: If your project comes with no folders values, values-v21 and/or drawable-xxx, you can create them manually and add the files needed accordingly. Or you can use the default set of styles and themes used in NativeScript.
Notice that you can NOT have custom folders inside your App_Resources. Only folders that are required by the Android convention are allowed and they must be created with the exact names provided (e.g., values, values-v21, drawable). When adding new folders in your App_Resources you should reset your platform folder.
tns platform remove android
tns platform add android
Once your launch screen is fully set, rebuild your application and your launch screen is ready. On some occasions, you might need to reset your platform folder as mentioned above.